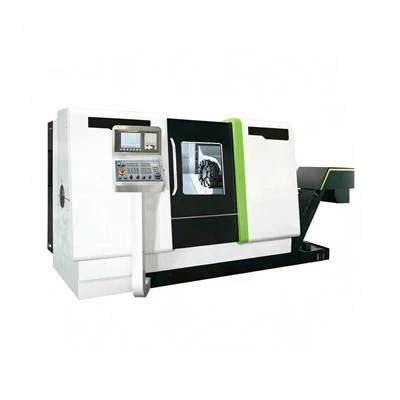
Calibrating an automatic router machine is a crucial process that ensures its optimal performance, precision, and longevity. As a supplier of automatic router machines, I understand the significance of proper calibration in achieving high-quality results. In this blog post, I will guide you through the step-by-step process of calibrating an automatic router machine, providing you with valuable insights and tips along the way.
Understanding the Importance of Calibration
Before diving into the calibration process, it's essential to understand why calibration is necessary. An automatic router machine is a complex piece of equipment that relies on precise movements and measurements to cut, shape, and engrave various materials. Over time, factors such as wear and tear, environmental conditions, and mechanical vibrations can cause the machine to deviate from its original settings, leading to inaccurate cuts, poor quality finishes, and reduced productivity.
Calibration is the process of adjusting the machine's settings to ensure that it operates within the specified tolerances and produces consistent results. By calibrating your automatic router machine regularly, you can:
- Improve accuracy: Calibration helps to eliminate errors and ensure that the machine cuts and shapes materials with precision, resulting in high-quality finished products.
- Enhance productivity: A well-calibrated machine operates more efficiently, reducing downtime and increasing production output.
- Extend the lifespan of the machine: Regular calibration helps to prevent premature wear and tear on the machine's components, prolonging its lifespan and reducing maintenance costs.
- Ensure operator safety: A properly calibrated machine is less likely to malfunction or cause accidents, ensuring the safety of operators and other personnel in the workplace.
Preparing for Calibration
Before you begin the calibration process, it's important to prepare the machine and gather the necessary tools and equipment. Here are some steps to follow:

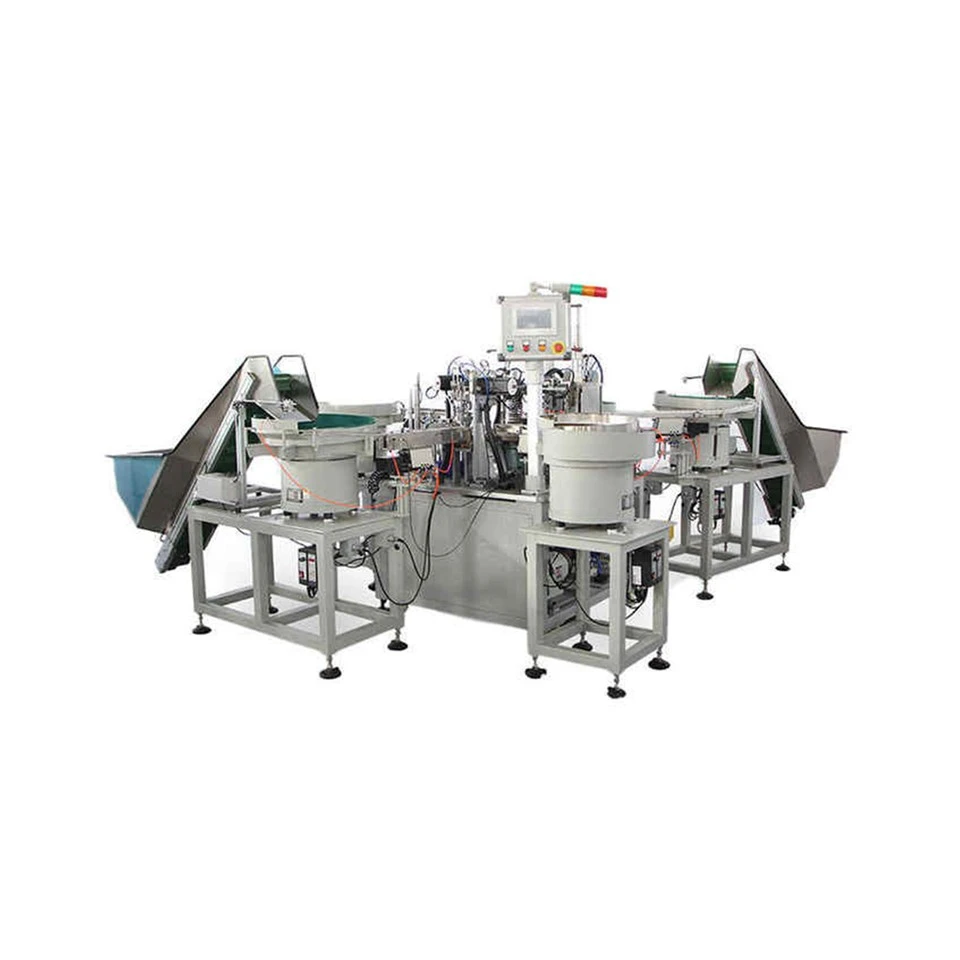
- Read the user manual: Familiarize yourself with the machine's user manual and calibration procedures. The manual will provide you with detailed instructions on how to calibrate the machine and what tools and equipment you will need.
- Clean the machine: Remove any debris, dust, or dirt from the machine's surface and components. This will help to ensure accurate measurements and prevent damage to the machine.
- Inspect the machine: Check the machine for any signs of damage or wear, such as loose belts, worn bearings, or damaged cutting tools. Replace any damaged components before proceeding with the calibration.
- Gather the necessary tools and equipment: You will need a variety of tools and equipment to calibrate the machine, including a micrometer, a dial indicator, a straightedge, and a calibration gauge. Make sure you have all the necessary tools and equipment on hand before you begin the calibration process.
Step-by-Step Calibration Process
Now that you have prepared the machine and gathered the necessary tools and equipment, it's time to begin the calibration process. Here are the steps to follow:
- Set the Z-axis zero point: The Z-axis zero point is the point at which the router bit touches the material surface. To set the Z-axis zero point, follow these steps:
- Place a piece of scrap material on the machine's table.
- Lower the router bit until it touches the surface of the scrap material.
- Use a micrometer or a dial indicator to measure the distance between the router bit and the surface of the scrap material.
- Adjust the Z-axis zero point until the measurement is within the specified tolerance.
- Calibrate the X and Y axes: The X and Y axes are responsible for moving the router bit horizontally and vertically across the material surface. To calibrate the X and Y axes, follow these steps:
- Use a straightedge to check the alignment of the X and Y axes.
- Measure the distance between the router bit and the straightedge at several points along the X and Y axes.
- Adjust the X and Y axes until the measurements are within the specified tolerance.
- Calibrate the spindle speed: The spindle speed is the speed at which the router bit rotates. To calibrate the spindle speed, follow these steps:
- Use a tachometer to measure the actual spindle speed.
- Compare the actual spindle speed to the desired spindle speed.
- Adjust the spindle speed until the actual spindle speed is within the specified tolerance.
- Calibrate the cutting depth: The cutting depth is the distance that the router bit cuts into the material. To calibrate the cutting depth, follow these steps:
- Use a depth gauge to measure the actual cutting depth.
- Compare the actual cutting depth to the desired cutting depth.
- Adjust the cutting depth until the actual cutting depth is within the specified tolerance.
- Test the machine: Once you have completed the calibration process, it's important to test the machine to ensure that it is operating properly. To test the machine, follow these steps:
- Place a piece of scrap material on the machine's table.
- Program the machine to cut a simple shape or pattern.
- Run the machine and observe the cutting process.
- Check the finished product for accuracy and quality.
- If the finished product does not meet the desired specifications, repeat the calibration process until the machine is operating properly.
Tips for Calibration
Here are some tips to help you calibrate your automatic router machine more effectively:
- Use high-quality tools and equipment: Using high-quality tools and equipment will help to ensure accurate measurements and prevent damage to the machine.
- Follow the manufacturer's instructions: The manufacturer's instructions are the best source of information on how to calibrate your machine. Make sure you follow them carefully.
- Calibrate the machine regularly: Regular calibration will help to ensure that the machine operates within the specified tolerances and produces consistent results.
- Keep a calibration log: Keeping a calibration log will help you to track the machine's performance and identify any issues that may arise.
- Seek professional help if necessary: If you are unsure how to calibrate your machine or if you encounter any problems during the calibration process, seek professional help.
Conclusion
Calibrating an automatic router machine is a crucial process that ensures its optimal performance, precision, and longevity. By following the steps outlined in this blog post and using the tips provided, you can calibrate your machine effectively and achieve high-quality results. If you have any questions or need further assistance, please don't hesitate to contact us. We are a leading supplier of Automatic Traub Machine, Automatic Inspection Machine, Automatic Dispensing Machine, Automatic Assembly Machine, and Automatic Production Line, and we are committed to providing our customers with the best products and services.
References
- Manufacturer's user manual for the automatic router machine.
- Industry standards and best practices for calibrating automatic router machines.